Showing posts with label celebrations. Show all posts

May 23, 2013

Charlotte's Web Party


I quickly wanted to share these pictures of a Charlotte's Web cake I made for my oldest child's end of the year play. For the most part it was an easy cake: a sheet cake on the bottom, another sheet cake cut into a barn on the top (use chopsticks or dowels to secure the barn). Chocolate cookie crumb path, pretzel fences and plastic Little People barn animals.

I also made brownie spiders with a billion black melting candy legs that all fell off and broke in transit! Sometimes things just don't work out the way you hope. 

I'll share the shark and beach cupcakes I made for the other kid's end of year party tomorrow.
 
Photobucket

February 8, 2013

Moose Munch - Chocolate Covered Caramel Popcorn


See. I wasn't kidding.

I've been making everything. Chocolate covered caramel popcorn this go round.

My Mom made this addicting stuff for us for Christmas. It's a take on Harry and David's Moose Munch. I figured it would make great thank you gifts. One bag to a neighbor who has taken care of my kids during all this chaos and another bag to our marriage mentors, who keep us from taking the stress out on each other. The problem was: I tried it, the kids tasted it and I let my husband taste it. We ate the whole recipe! It's that crazy good.

There is no way you can eat just a little bit of this stuff. You have been warned. Make a double recipe and give a bag to your loved ones for Valentine's. Attach a note to let them know how much you love them. Send it to someone you haven't seen in a while and you miss. Don't wait for the "perfect time" to reach out. Now is the perfect time.


Chocolate Covered Caramel Popcorn

Ingredients
8 c popped popcorn
1 stick butter, cut into fourths)
3 tbsp corn syrup (the recipe will work without this, but the caramel won't be shiny or as crunchy)
1/2 tsp salt
3/4 c brown sugar
1/4 tsp vanilla
1/4 tsp baking soda
chocolate chips (Mom choose dark chocolate)
peanuts, m&m's, mini marshmallows (optional)
Preheat oven to 300 degrees.

Remove all unpopped kernels from popcorn and pour popcorn into a large bowl. Combine butter, corn syrup, salt and brown sugar in microwave safe bowl. Cook on high until mixture boils - watch this carefully - don't let it boil over. Remove, stir and microwave for another few minutes. (Or you can do this in a pot on the stove over med-high heat).  Cook and stir until mixture boils. Remove from heat and stir in baking soda and vanilla.
Pour caramel over popcorn and stir to coat. Work quickly before the caramel cools. Spread onto silicone lined (or greased) baking sheet and bake for 10-15 minutes (10 for chewy, 15 for crunchy).
Remove from oven and add chocolate chips, stir around on sheet to melt the chips. You can also melt the chocolate and drizzle over the popcorn for a fancier look. 
Photobucket

June 25, 2012

Patriotic Cupcakes


Any excuse to celebrate is my motto. I am the geeky Mom who has Valentine's Day decorations, St Patrick's Day fun, we even celebrated National Doughnut Day here in Chickenville. 
Complete with a blind taste test of the top two national doughnut brands. It was Krispy Kreme by a landslide (I'm raising them right).
I'm sure one day my kids will look at me and realize I'm a little holiday crazy, but until then, I keep on celebrating.

I made these cupcakes for Memorial Day, but they would be perfect for next week on the 4th of July. I bake this Fresh Strawberry Cake and icing recipe into cupcakes. Then topped with fun marshmallow stars from Walmart.  I got the big size, but they come smaller too which would be perfect for decorating mini cupcakes or even homeschool projects like these.
Photobucket

April 23, 2012

The Most Incredible Poundcake Recipe EVER

UPDATE: Welcome pinners. This has become my most popular recipe to date! Wow, you all are really looking for a good great poundcake. I can tell you, you've found it. I hope while you are checking this one out, you'll poke around some other recipes. One easy way to do this is by season. Click on the seasonal link in the cloud list on the right hand sidebar and see what you can make right now. Or you may be interested in the other cakes I've made, including some fun birthday cakes. Either way, I'd love to hear from you, so leave a comment or shoot me an email. tochickenville {at} gmail {dot} come. Thanks for visiting!

------------------------------
Secret Recipe Club alert!! Why "secret"? In the Club we are assigned another food blog from the members and then secretly make one of their recipes. This month, I was assigned Anne From My Sweet Heart, a blog laser focused on desserts. Just so happens this is a GREAT time for me to make a cake. My aunt, my mother-in-law, brother, AND sister-in-law (she of the Kickin' Vinaigrette dressing) all have birthdays in April!! The kids spend at least two days making all of their cards and sometimes I get to spend some time in the kitchen cooking up a celebration dinner. This month, I got to make dinner for my brother and his wife for their birthdays. My parents joined us for the evening. It was loud  (actually our house is always loud with four kids) with lots of laughing and fun. The big kids put on a gymnastics's show AND a theatre production.

Mom and Dad brought the main dish, a pork loin, which I seasoned and my husband grilled. As usual it was moist, delicious and perfectly delicious. You cannot miss with my Disappearing Pork Loin recipe. I made Kohlrabi-Carrot Bake, Broccoli Salad (which I did not get enough of on Easter), homemade Honey Wheat Seeded bread, cheese grits, a green salad and the afore mentioned delicious pound cake.

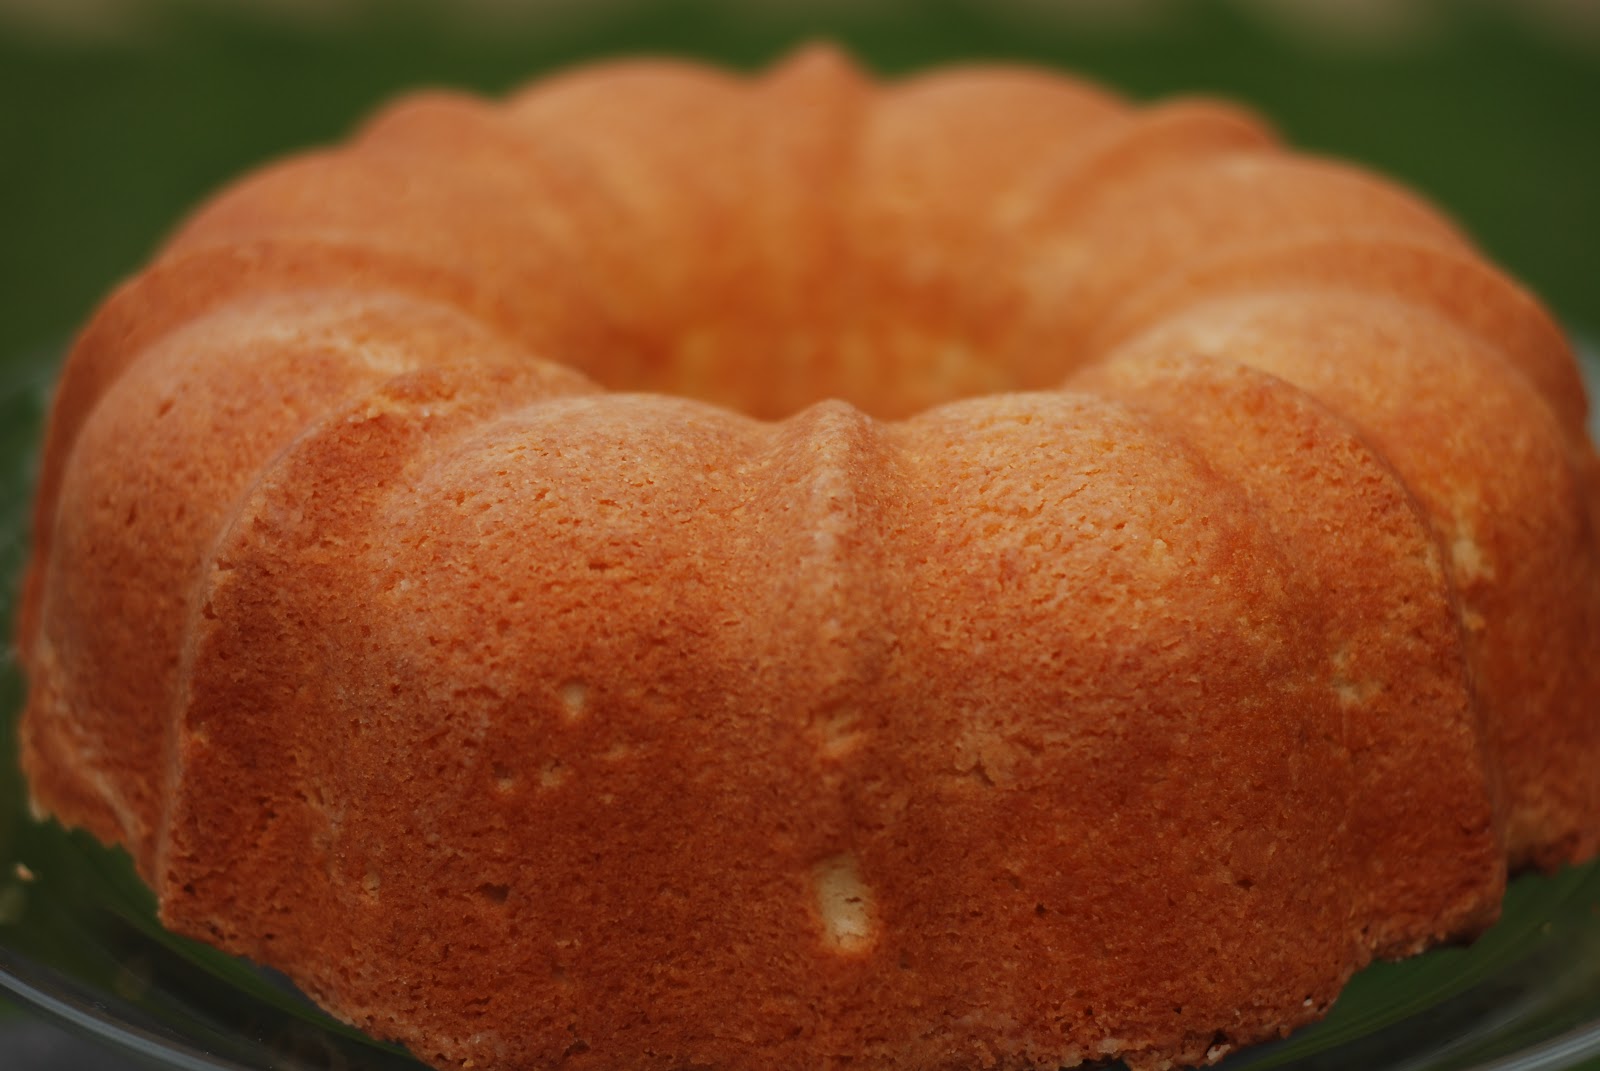
This cake is moist and held a perfect crumb. The bottom crust was crispy, but the inside was soft. I served it with strawberries macerated in sugar (directions in the recipe below) and Breyers vanilla bean ice cream. My husband went back for a plain piece because he said the berries just got in his way of tasting the amazing cake. I swapped out a little of the vanilla in the original recipe for some almond, which took it over the top (this does not make it almond tasting, it only adds a little depth of flavor). Whatever you choose, make sure it's good quality, pure extract, not imitation, because it will be the dominate flavor.

This recipe turned out to be the best poundcake I've ever tasted!! Right up there with my favorite cake - Famous Fresh Strawberry Cake. I'm not kidding you folks, this was really THAT good. Find an excuse to make this cake and you will be a hero to your family.

Cream Cheese Poundcake
From My Sweet Heart

3 sticks unsalted butter, at room temperature
8 oz. cream cheese, at room temperature
3 cups sugar
1/2 tsp salt
1 tbsp pure vanilla extract
1 tsp almond extract (my preference or you could do lemon, more vanilla, or something else)
6 large eggs
3 cups of sifted flour
1 tsp baking powder

Preheat your oven to 325°F. Spray a bundt pan with cooking spray and then sprinkle some flour over the spray. Shake it around until the flour covers the oil and then tap out the excess. It should look like this. If you don't have a bundt pan, you can bake it in two 8 1/2 by 4 1/2 inch loaf pans for 60 minutes.
In the mixer bowl, beat the butter and cream cheese together until creamy. Gradually add the sugar with the mixer still running, and continue to beat until light and fluffy. Beat in the salt and extracts. Add the eggs to the mix, one at a time. Beat well after each addition. This is easy when you have a little helper.

Stop the electric mixer and sift the flour and baking powder into the bowl. With a rubber spatula, gently stir the flour into the mix, until no traces of flour are seen and the batter is smooth.

Pour the batter into the prepared bundt pan. Bake on center rack for 75 minutes. The top should be golden and become slightly cracked; and when a toothpick inserted into the center comes out with a few moist crumbs.  Transfer to a wire rack and let the pans cool for 15 minutes. Carefully turn the cake out of the pan onto a wire rack for cooling.

To serve with strawberries. While cake is baking, wash, hull (remove the stems) and cut up the berries. Sprinkle with sugar. Let stand in fridge, every once in a while, give them a stir. You want them to sit for an hour or so. When they are ready, there will be a nice juicy, sweet syrup in the bottom of the bowl.

The most perfect Poundcake recipe EVER. Happy Birthday Nadia and Jason!!

Photobucket

April 10, 2012

Real Pecan Pie...Frozen

I love pecan pie, but NOT the nasty slimy middle. I solved this problem one time when I bought a piece of pecan pie from the freezer section - Edwards or some brand. I figured it was only one piece so I couldn't go overboard, but when I got it home it was all I could think about (restraint is not my strong point). That silly piece of pie was calling my name. I got home, ripped open the cardboard package and ate the entire slice without letting it thaw or even using a fork.

Turns out it was the best pecan pie I ever ate! It had nothing to do with the brand but the simple fact that the pie was still pretty frozen. When the jiggly middle is frozen it turns to a wonderful gooey, caramel like treat that I LOVED! Now, I make and serve pecan pie to my guests and then freeze my leftovers for me to enjoy another day. I encourage everyone to try pecan pie frozen - you may love it. I've even converted my very southern husband to freezing his.

I decided I needed to make a pecan pie because my husband's wonderful Aunt and Uncle gave us a HUGE bag of pecans. Apparently they have the largest pecan tree in Fayette County, which is really saying something. They gathered the nuts for us and I put the kids to work cracking them with this cool contraption. I won't say it makes cracking the pecans easy...let's say easIER. Once we had enough nuts, I was all set to make my pie.

Real Pecan Pie
adapted from Baking Illustrated by way of Brown Eyed Baker

Single crust pie shell, store bought or homemade
6 tbsp butter, cut into 1-inch pieces
1 c brown sugar
½ tsp salt (if using unsalted butter)
3 eggs
¾ c light corn syrup
1 tbsp vanilla
2 c pecans, chopped into small pieces

Toast your pecans in a dry skillet on the stove for a few minutes until they smell nutty or toast them on a tray in your toaster oven. Just be sure to watch them as nutty and delicious can turn burnt VERY quickly. Let cool.

Preheat oven to 400 degrees. Prick the crusts with a fork all over the bottom.

Then cover the crust with aluminum foil and fill with dried beans. This keeps the pie shell from puffing up with air and becoming brittle. Bake for 15 minutes.

Remove foil and beans weights bake 5 additional minutes until crust is golden brown and crisp. Remove from oven and reduce the temp to 275 degrees.

Melt the butter in a double boiler. {See my new one??} Remove from heat and stir in the sugar and salt with a wooden spoon until the butter is absorbed. Beat in the eggs, then the corn syrup and vanilla. Return to this stove; stir until the mixture is shiny and hot to the touch, about 130 degrees on an instant-read thermometer. Remove from the heat; stir in the pecans.


 Pour the pecan mixture into the hot pie shell.

Bake on the middle rack until the pie looks set and yet soft, like gelatin, when gently pressed with the back of a spoon, 50 to 60 minutes. Transfer the pie to a rack; cool completely, at least 4 hours. Then to really make magic, put it in the freezer. Promise me you'll do it with a least one piece, just to try. I bet you'll love it!!

Photobucket

February 29, 2012

Hot Chocolate Cake

Happy Leap Day! First, I must wish my #3 child Happy Birthday today!!  He's four, but according to the calendar he's only one. Since his Leap Day birthday only rolls around once every four years we are celebrating BIG today. I took in homemade cinnamon rolls for his birthday snack at preschool and we'll be dining at IHOP at his request :) This weekend we are having a Super Fast Racecar Birthday Party to celebrate, so stay tuned for those photos. I don't imagine it will be as loud as last year's Marching Band party, but it will be just as much fun.

As promised, here is the Hot Chocolate Cake recipe. This is a doctored box mix cake that turned out fabulous!  Really, really, good. I don't usually like chocolate cake, but this one was great. It was moist and dense in all the right places. I served it with chocolate buttercream icing. My 8 year old decided on the the flavor, just assuming I could make it happen! I was pretty relieved when it came out delicious - nothing like letting your foodie child down. He would have been the first person to tell me if it was terrible.

Hot Chocolate Cake
1 box of chocolate cake mix, regular chocolate or devil's food
4 eggs
1/2 c water
1 c buttermilk
1/3 c vegetable oil
1 sm box pumpkin pie instant pudding mix (if you can't get this substitute 1 box chocolate or vanilla pudding mix and 2 tsp cinnamon)
1/2 c semi sweet chocolate chips
1 c mini marshmallows or cut up large ones

Put chocolate cake mix, eggs, water, buttermilk, oil and pudding in mixer bowl. Beat as directed on the cake mix box. Then add the chocolate chips and marshmallows and stir. Pour cake mix into greased cake pans and bake as directed on your cake mix box according to your cake pan size.

I used this to make my Magic Tree House birthday cake and it was moist and delicious. I frosted it with a chocolate buttercream icing.

Photobucket

February 10, 2012

Candyland Birthday Party

WARNING - this post has LOTS of sugar and photos! You may need a toothbrush or a cup of coffee just to read it!
Oh how I adore Candy Land!! I loved playing it as a kid (actually I love playing it still). It was one of the first games I got for my kids. I mean it says right on the box, "A Child's First Game". I love that it doesn't involve reading, only color recognition. A while back in Taste of Home on the back cover I had seen a Candy Land birthday cake that I knew I HAD to make. I just had to convince one of my kids to let me. Finally this year, Banana Girl was bouncing from idea to idea, not really committed to anything and I said, "what about Candy Land?" She was not convinced saying, "Mommy, Candy Land is for three year olds!" But then I showed her the cake idea and she was on board. What kid wouldn't love a cake full of CANDY?? 
The prep work for this party was pretty easy since I started right after Christmas. I picked up a bunch of Christmas clearance items to fill the goody bags. You know, the candy and cupcake makeup/ bath items? A very inexpensive way to go and I knew I didn't want to send them home with more candy. I also tucked a toothbrush in the goody bag as a thanks to the parents.
We used one of Banana Girl's Christmas presents for a craft. It was a little American Girl kit that made a bunch of button rings. I figured they looked enough like candy, that it would work.
I picked up some fluffy socks that are always around at Christmas time. These I got from the Target dollar spot. I saw this cute idea on Pinterest and made them as favors for the girls...sock cupcakes.


We decorated around the house with all of our play kitchen candies, sweets and desserts like ice cream, cookies, cupcakes, etc. Of course, we also used the Candy Land game box, board and pieces to decorate.
We also made these adorable giant lollipops for the walkway. They are a white paper plate wrapped in colored cellophane and tied with a bow (or you could use colored paper plates and clear cello). My husband set them on sticks for the party, but the wind proved too much. The next choice was this beautiful piece of rusted rebar - which definitely help them. You could go all out and put them up with white pvc or slide a white painted wrapping paper tube over the rebar. 


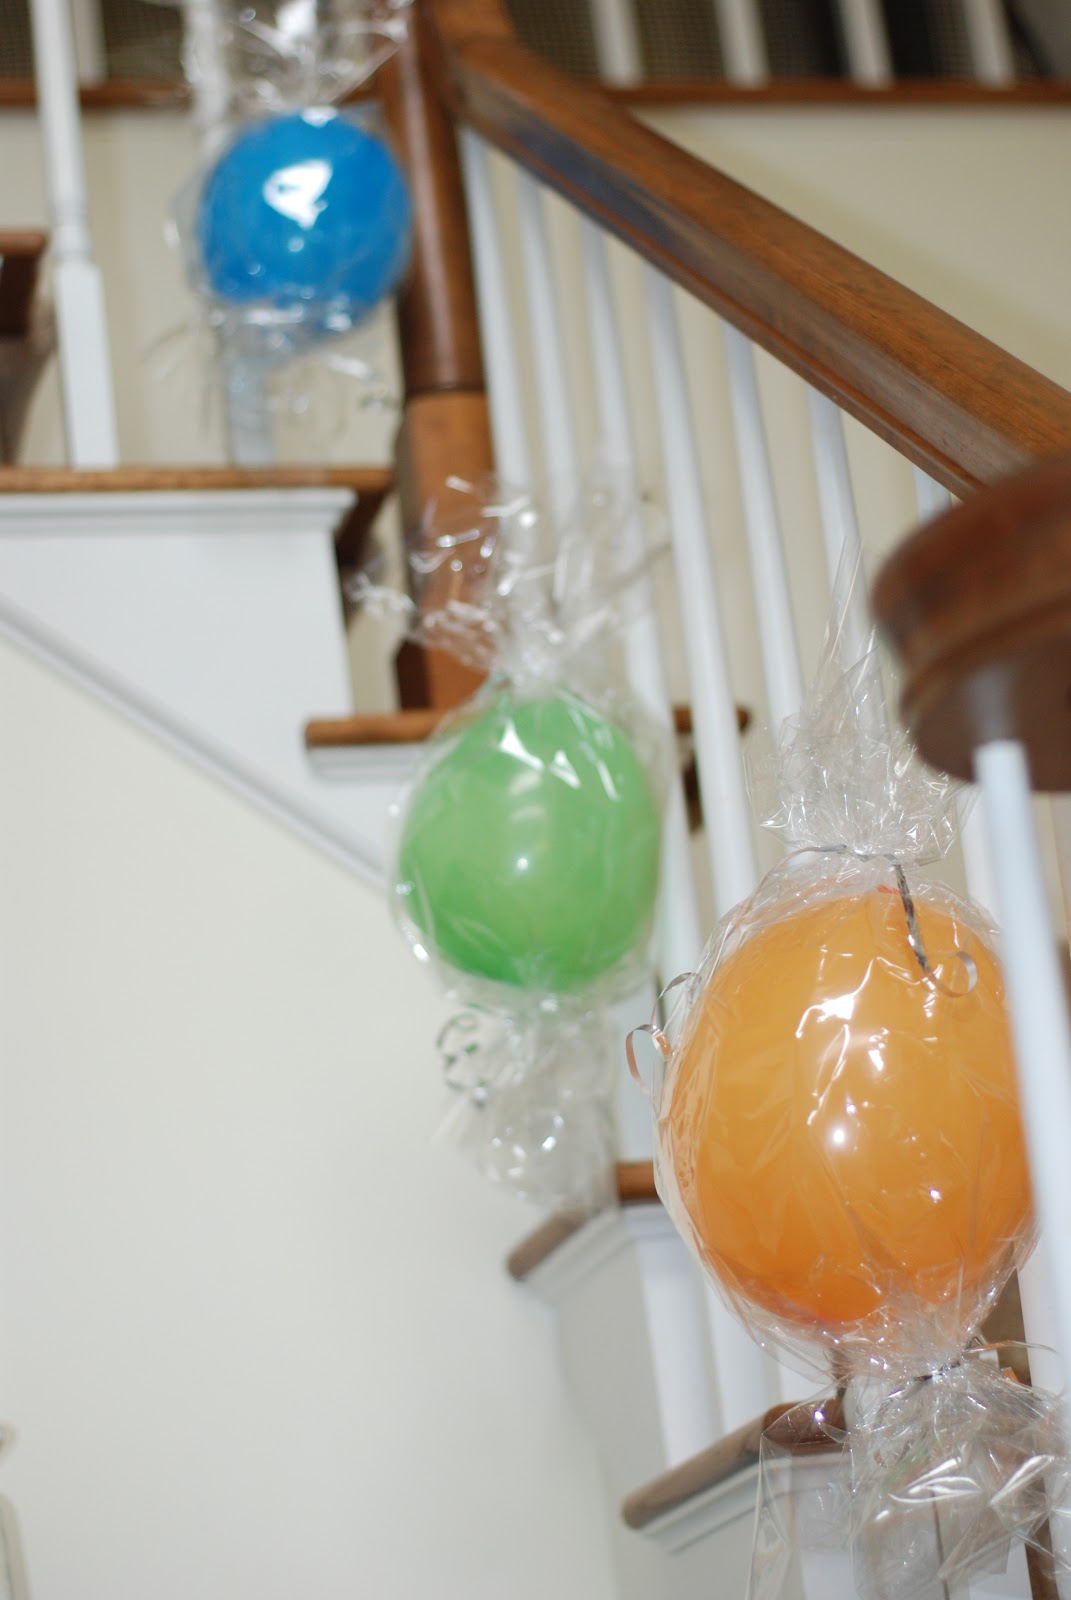
I also made giant candies to hang around the house.

So easy, you blow up a balloon and wrap it with clear cellophane, then tie the ends with ribbon.


For our fun and entertainment, the girls made the button rings. They also crafted beaded candy canes. I gave them green, red and white tri-shaped beads and a length of pipe cleaner. They strung the beads however they liked and I just bent up the ends to keep the beads on. It's an easy Christmas ornament and went perfectly with the Mr. Mint part of Candy Land.

The girls also made felt cupcakes. I saw this printable and set to cutting the pieces out. I made icing and cupcakes in a couple of "flavors". Then I cut put the liners and decorations. 

The girls had a great time creating their custom cupcake. I will say, don't use white glue as it won't work on the felt. We ended up using Aleene's Tacky Glue, which worked beautifully. I would also recommend doing this activity first, so the glue has time to dry.
We played a version of a "cake walk". I set squares of colored paper on the floor and had them walk around to the tunes of I'm A Gummy Bear, and I Want Candy, and such. Then we stopped the music and drew a card from the Candy Land deck, whoever was standing on the right color, got to pick out a piece of candy from a huge bowl. We played until everyone won multiple times.
We also played licorice limbo, which was a crack up. Those little girls are LIMBER! Of course, everyone got a giant string of licorice.
 The whole menu was determined by the Birthday Girl. She REALLY wanted a rainbow of fruit, since that is her current "favorite food in the world". I didn't want to mess with skewers like I had seen, so I just laid it all out on a platter with marshmallows on the ends for clouds. We also had mini hot dogs wrapped in croissants (like little gems). A rainbow of colored peppers (another of Banana Girl's current obsessions) with dip. Crackers and egg salad.
When the girls saw the cake, their eyes were as big as moon pies. They couldn't wait to eat it. The cake looked like a sugar fantasy come to life. They all wanted " a huge piece with lots of candy". Luckily with this cake it wasn't hard to satisfy their requests. I warned parents in the invite, their kids were going to come back with a sugar high and they needed to eat a good breakfast!
You can make this cake really anyway you like. I thought about it back in October and set aside some Halloween candy. I did have to buy a big bag of Starburst. I used these for the pathway. The only color I couldn't find was blue, I guess they just don't make blue starburst.
I added the real game pieces (after a good washing) for authenticity. You can see the Chocolate House which Grandma now lives in. She used to be Grandma Nut with peanut brittle and there was a molasses swap with Goopy - no longer. I guess kids today don't eat peanut brittle and molasses, well all except my kids :) I made the chocolate with mini Snickers, tiny Tootsie Rolls and chocolate icing. There is a small peppermint area (Mr. Mint has gone the way of Goopy) and some candy hearts in front.

The gumdrop forest was created using toothpicks to stack them high.

Lord Licorice's castle was very pointy and dark looking. Definitely not where you want to land!

The lollipop woods were easy, just unwrap and stick them in. The more random and tilted they were, the better they looked.

I had to make a bridge for the shortcut. I used star sprinkles and mini marshmallows, crowned with Trix cereal. There is also an ode to the Birthday Girl. She LOVES chewing gum and has just figured out how to blow bubbles, so I put a couple of sticks on there for her.
King Kandy's Castle was made from small ice cream cones that I already had, towers of icing and topped with sprinkles and a red gumdrop.
I added sprinkles all over the whole cake at the Birthday Girl's request. I think it made the cake VERY busy looking, but she adored it and I have to remind myself, it is HER cake! All and all this cake didn't require any special skills (I did pipe a border of stars, but you could easier do more candy). It just took some planning because I didn't want to buy all of this candy. Saving a little here and there as the kids got it from Halloween, Awana and the bank, saved me from spending too much.
The party was a roaring success and another confirmation of why I love creating special birthday parties for my kids. There is no place like home!! 


Photobucket

LinkWithin

Related Posts Plugin for WordPress, Blogger...