Showing posts with label fun for kids. Show all posts

November 21, 2014

Minnie's Bowtique Party

This year we celebrated four years old with a Minnie's Bowtique birthday party. We brought three other little girls over for a pampering fun time!

We decorated minnie mouse sugar cookies because these girls are all so SWEET.
 
Then we had a spa visit complete with shopping experience too. The girls were each given a minnie bag and were allowed to pick from the jewelry and hair items on the table (including Minnie ear headbands). Then they placed their spa treatment order with the big girls. They got to have fingernails and toenails painted and lip gloss applied! I think they all loved it. 


The funniest part was the hair salon. I got my hands on my Grandmother's old hair dryer bag and set it up. It still works and the kids thought it was a riot! They couldn't believe it was a hair dryer and just cracked up.


Of course we ended the party with a Minnie Mouse cake. It was strawberry lemonade flavor cake with strawberry icing. Abigail really wanted a "tall cake" so I did two small layers and split those with icing in between (cause we really didn't need a bunch of cake). I cut the Minnie heads out of fondant with the big end of a some icing tips. The pink bow is piped on as are the white polka dots. The pearl necklace around the bottom is made from large candy coated chocolate beads that I found at Walmart. The Minnie topper was from a toy Mamaw gave Abigail last year while she was in the hospital. That toy cemented her love of Minnie Mouse.


We did celebrate her birthday at preschool too. For that day I made cupcakes (easier to serve). They were topped with pink swirled icing and little white candy balls. Then I used mini oreos for the ears and a (new to me) product called candy clay for the bow. I tinted the clay pink and hand formed the bows with two pieces of clay. One piece was shaped like a long oval and I pinched that in the middle. Then I rolled out a little tiny snake and wrapped it around the pinched part.


Happy Birthday my crazy daughter!


Photobucket

May 8, 2014

Soapy Olafs- Perfect Teacher Gifts!!


We made these incredibly cute Olaf soaps for teacher gifts this year. The idea was based on what we had previously done with the soap snowballs. This time, we took it up a notch and formed OLAF!!


We first, formed the head and body parts and stacked them together while they were still wet. Like an actual snowman, you need to have some "flatness" where the parts meet so they will stay together. The next day, while the soap was still soft, but not wet, we gently inserted the twigs we cut from our bushes. The hair twigs were short little things and the arm twigs had to have forks in the end to qualify. Then we took a break and left them out on the porch for a week or so.

We purchased Sculpey clay in black and orange and we formed LOTS of buttons, eyes, and noses. The eyes were just round balls, the buttons were flat sort-of hexagons and the noses were bent cone shapes. We baked the clay in the oven and then glued (with Elmers so it would come off when wet) them in the appropriate places. We could have made his tooth too, but I forgot to buy the white and then the kids ran out of steam!

When Olaf's body was dry and harden, we boxed him up in a clear plastic PVC 5"x5"x7" container with a fancy drink umbrella glued to his hand, and a summery napkin behind for the background. We used playdough for his towel underneath (and a little more glue) to keep him from sliding around on the slippery gold "sand" bottom of the box.


Once his was all boxed up, the kids added a sun shaped tag cut with my sister-in-laws Cricut that said, "Teachers have fun... IN SUMMER!!" Soooo excited to give it them away to our deserving teachers next week!

Here's what you need if YOU want to make soapy Olafs...


  Photobucket

March 16, 2014

Camouflage Party

We are still struggling with our younger son around here. Last year, in the midst of everything with Abigail, he was diagnosed with ADHD. He has manic moments and has a really hard time in group settings. After a few weeks in kindergarten, the school suggested I move him to a Special Ed class. Whew - that was a hard one and while I was in the middle of chemo appointments! Still, once I got over myself (cause really it was only hard for me to swallow) I saw how the class was a much better place for Andrew. I adore his teachers and the sweet (only six) kids he is in class with. When his birthday rolled around, he wanted to invite "the boys only" to his birthday party. I came up with the idea of having a Camo Party and decided this one would be pretty low key. I mean, after all, this is the kid that doesn't do well with crowds or chaos! :)
Everything was outside, including the food. We set out real army facepaint and said anyone could use it (I think only Andrew and his Daddy did). I had some MRE's for decoration - pretty gross to actually eat. We had some army flak jackets for the kids to try on - they are soooo heavy.

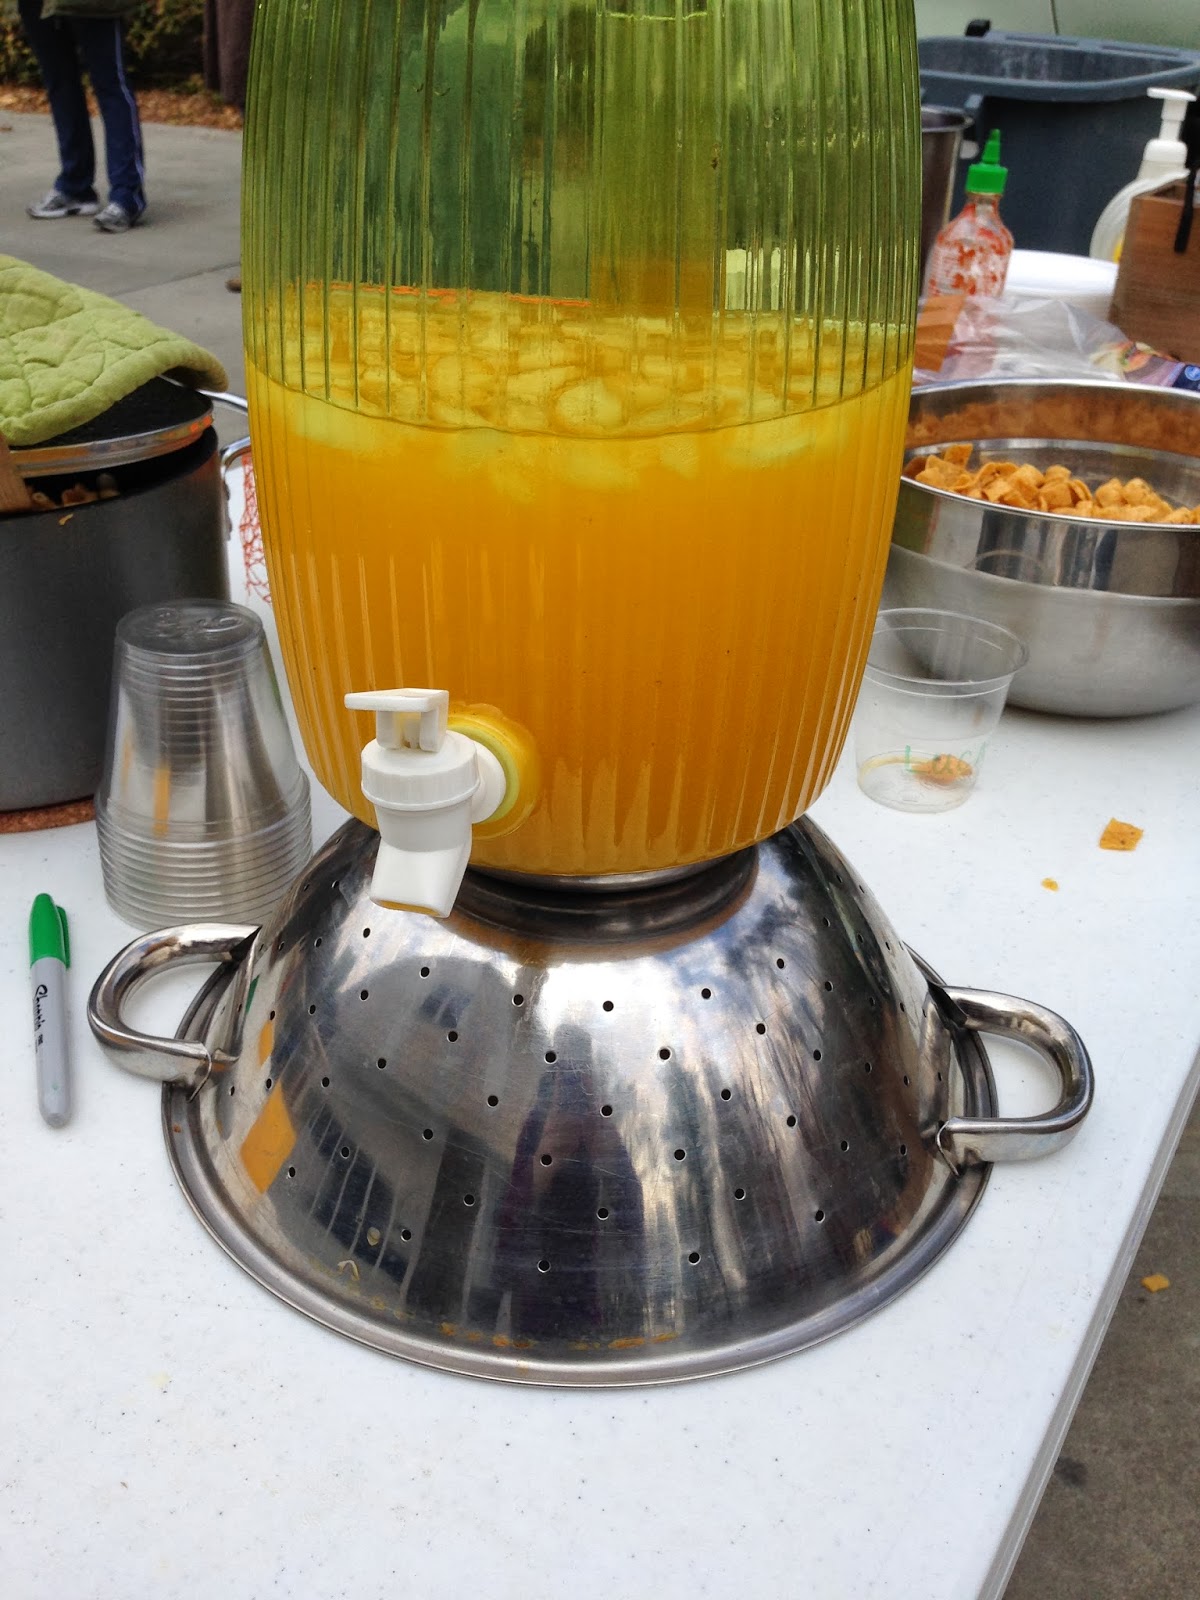
After they dressed out, we had lunch. It was tang, sloppy joes, mac and cheese, Frito's, asparagus spears and clementines.


 After lunch my husband set up an obstacle course for the kids and just let them run wild. I think they all had a great time and were definitely exhausted when they left.

 For the camo cake, I tried a new technique. I made the colors of icing and crumb coated the cake. then I squeezed blobs of icing in random shapes with a large hole tip. I let that set up and then used a high density foam roller to "meld" the colors together. I was not happy with this technique. It often picked up the icing or smooshed it too hard even when I being gentle. I finally gave up and went back to the trusty paper towel method. It's not a smooth finish when you look up close, but it's good enough for me.


Photobucket

March 12, 2014

Mad Scientist Birthday Party

Preserved Brain Cake...just what everyone needs at a Mad Scientist party. 

As promised, I am posting photos of birthday parties. I'm not doing much other posting, but if you join me on Facebook, I am posting my weekly dinner menus. Tonight was steak with a Greek barley salad and edamame. I'm hoping you will come over there and tell me what YOU had for dinner too.

---------------------------------
When Banana Girl said she wanted a Mad Scientist Birthday party WITH her best friend - I (of course) said, "yes!". It was a riot. I did the food and the other Mommy did the awesome science experiments. the girls had a super fun time. And they actually learned a few things along the way.

Don't you love the backdrop and the labcoats?? Donated by the Grandma and perfect for the occasion!
Please excuse the photos - they were taken in a garage at night. With all of these experiments we felt like the garage was the best place to set up.

We made slime - easy and a BIG hit. We packaged a little bit up in petri dishes for them to take home as part of their goodie bag.
We made "elephant toothpaste". This was pretty cool until the kids wanted to start playing with it. What a mess!
We made "milk fireworks", learning about oil and water in techicolor.
The dry ice was a big hit around the punch bowl. Notice the double helix cheese sticks?? We also served: Dissected chicken (whole roasted chickens), Amoeba Porridge (corn pudding), Radioactive Mush (orange colored mashed potatoes), DNA strands (green beans), and Cultured Worms (jello with gummie worms in petri dishes). I made little cards with the names on them and some test tube graphics.

We also served (the famous ever used) chip and dip tray filled with little goodies so the kids could make their own molecules. There were things like: mini marshmallows, grape tomatoes, grapes, dates, gumdrops and toothpicks to set it all up. I was really impressed at what some kids created!

Details of the cake, if you ever need to make BRAINS!!  This would be a great cake for Halloween or a doctor.


The key with brains is to not cross the middle line and keep them moving in swirls.


Photobucket

May 30, 2013

Cranberry Cheesecake Shakes

 
This was a start of the summer treat for my kids. It turned out with a beautiful pink color that would make a great drink for a girls summer party. Frosty pink happiness!

I keep cranberries in my freezer year round, because I love their tartness and they freeze so well. And then I always have cranberries to make Cranberry Coffee Cake or Cranberry Spice Granola or good old fashioned cranberry relish, which should not be relegated to just the Thanksgiving table.

I remembered years ago I tore a page out of Family Fun for a cranberry milkshake. I thought it was a little strange, but why not? Today was finally the day to make them. All the kids liked the recipe, since ice cream before dinner is a big deal. I think next time I'll actually make them with ricotta cheese instead of the cream cheese. I also used sweetened almond milk which I think added another layer of flavor, but you could use the original plain milk.

Cranberry Cheesecake Shakes
1 c cranberries
1 1/2 c almond milk
2 tsp vanilla
3 oz cream cheese or ricotta cheese
vanilla ice cream

Put the cranberries and milk in the blender. Pulse until smooth and a beautiful pink. Add vanilla and cheese, pulse again. Add enough ice cream to fill the blender and make a thick rich shake.

You could also add some vanilla whey protein powder to this one easily.


Photobucket

May 24, 2013

Shark and Beach Cupcakes

Aren't these little guys so cute? End of the year meant we needed some summertime cupcakes according to Banana Girl. She insisted on sharks "for the boys" and "beach for the girls". I'm not sure that all were eaten according to her rules, but I know the kids enjoyed them.

The beach cupcakes are icing and then sprinkled with crushed ginger cookies (which I think taste better than graham crackers, but either would work). Add a little Teddy Graham bear and a drink umbrella that I picked up from the grocery store and...total cuteness!
 
The sharks were just as easy. Ice the cupcake with blue tinted frosting and make sure to leave peaks for yours waves. Cut out blue shark fins and insert them into the frosting right before serving. If you do it ahead of time the icing will create grease stains on the paper. You could go all out and create fondant fins, but I was a taking the easy way out on this one!
Happy Summer!
Photobucket

May 23, 2013

Charlotte's Web Party


I quickly wanted to share these pictures of a Charlotte's Web cake I made for my oldest child's end of the year play. For the most part it was an easy cake: a sheet cake on the bottom, another sheet cake cut into a barn on the top (use chopsticks or dowels to secure the barn). Chocolate cookie crumb path, pretzel fences and plastic Little People barn animals.

I also made brownie spiders with a billion black melting candy legs that all fell off and broke in transit! Sometimes things just don't work out the way you hope. 

I'll share the shark and beach cupcakes I made for the other kid's end of year party tomorrow.
 
Photobucket

LinkWithin

Related Posts Plugin for WordPress, Blogger...