This year we celebrated four years old with a Minnie's Bowtique birthday party. We brought three other little girls over for a pampering fun time!
We decorated minnie mouse sugar cookies because these girls are all so SWEET.
Then we had a spa visit complete with shopping experience too. The girls were each given a minnie bag and were allowed to pick from the jewelry and hair items on the table (including Minnie ear headbands). Then they placed their spa treatment order with the big girls. They got to have fingernails and toenails painted and lip gloss applied! I think they all loved it.
The funniest part was the hair salon. I got my hands on my Grandmother's old hair dryer bag and set it up. It still works and the kids thought it was a riot! They couldn't believe it was a hair dryer and just cracked up.
Of course we ended the party with a Minnie Mouse cake. It was strawberry lemonade flavor cake with strawberry icing. Abigail really wanted a "tall cake" so I did two small layers and split those with icing in between (cause we really didn't need a bunch of cake). I cut the Minnie heads out of fondant with the big end of a some icing tips. The pink bow is piped on as are the white polka dots. The pearl necklace around the bottom is made from large candy coated chocolate beads that I found at Walmart. The Minnie topper was from a toy Mamaw gave Abigail last year while she was in the hospital. That toy cemented her love of Minnie Mouse.
We did celebrate her birthday at preschool too. For that day I made cupcakes (easier to serve). They were topped with pink swirled icing and little white candy balls. Then I used mini oreos for the ears and a (new to me) product called candy clay for the bow. I tinted the clay pink and hand formed the bows with two pieces of clay. One piece was shaped like a long oval and I pinched that in the middle. Then I rolled out a little tiny snake and wrapped it around the pinched part.
We are still struggling with our younger son around here. Last year, in the midst of everything with Abigail, he was diagnosed with ADHD. He has manic moments and has a really hard time in group settings. After a few weeks in kindergarten, the school suggested I move him to a Special Ed class. Whew - that was a hard one and while I was in the middle of chemo appointments! Still, once I got over myself (cause really it was only hard for me to swallow) I saw how the class was a much better place for Andrew. I adore his teachers and the sweet (only six) kids he is in class with. When his birthday rolled around, he wanted to invite "the boys only" to his birthday party. I came up with the idea of having a Camo Party and decided this one would be pretty low key. I mean, after all, this is the kid that doesn't do well with crowds or chaos! :)
Everything was outside, including the food. We set out real army facepaint and said anyone could use it (I think only Andrew and his Daddy did). I had some MRE's for decoration - pretty gross to actually eat. We had some army flak jackets for the kids to try on - they are soooo heavy.
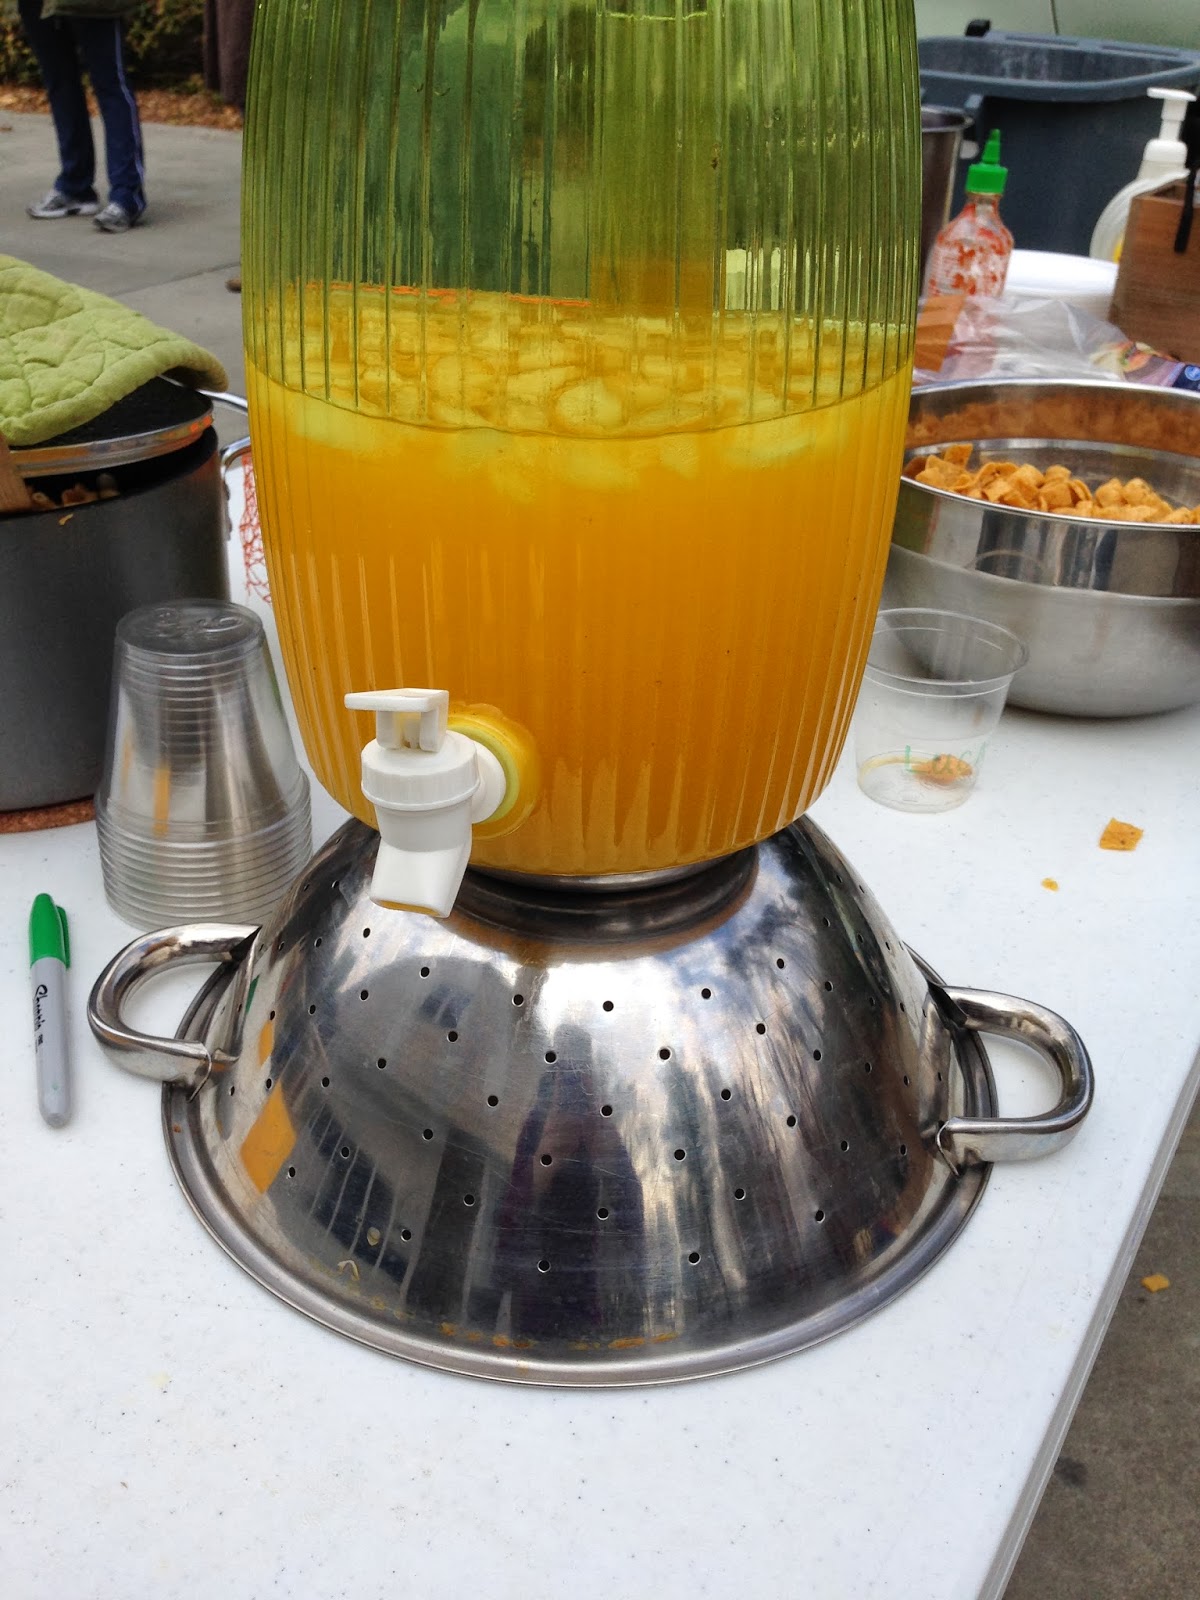
After they dressed out, we had lunch. It was tang, sloppy joes, mac and cheese, Frito's, asparagus spears and clementines.
After lunch my husband set up an obstacle course for the kids and just let them run wild. I think they all had a great time and were definitely exhausted when they left.
For the camo cake, I tried a new technique. I made the colors of icing and crumb coated the cake. then I squeezed blobs of icing in random shapes with a large hole tip. I let that set up and then used a high density foam roller to "meld" the colors together. I was not happy with this technique. It often picked up the icing or smooshed it too hard even when I being gentle. I finally gave up and went back to the trusty paper towel method. It's not a smooth finish when you look up close, but it's good enough for me.
Preserved Brain Cake...just what everyone needs at a Mad Scientist party.
As promised, I am posting photos of birthday parties. I'm not doing much other posting, but if you join me on Facebook, I am posting my weekly dinner menus. Tonight was steak with a Greek barley salad and edamame. I'm hoping you will come over there and tell me what YOU had for dinner too.
---------------------------------
When Banana Girl said she wanted a Mad Scientist Birthday party WITH her best friend - I (of course) said, "yes!". It was a riot. I did the food and the other Mommy did the awesome science experiments. the girls had a super fun time. And they actually learned a few things along the way.
Don't you love the backdrop and the labcoats?? Donated by the Grandma and perfect for the occasion!
Please excuse the photos - they were taken in a garage at night. With all of these experiments we felt like the garage was the best place to set up.
We made slime - easy and a BIG hit. We packaged a little bit up in petri dishes for them to take home as part of their goodie bag.
We made "elephant toothpaste". This was pretty cool until the kids wanted to start playing with it. What a mess!
We made "milk fireworks", learning about oil and water in techicolor.
The dry ice was a big hit around the punch bowl. Notice the double helix cheese sticks?? We also served: Dissected chicken (whole roasted chickens), Amoeba Porridge (corn pudding), Radioactive Mush (orange colored mashed potatoes), DNA strands (green beans), and Cultured Worms (jello with gummie worms in petri dishes). I made little cards with the names on them and some test tube graphics.
We also served (the famous ever used) chip and dip tray filled with little goodies so the kids could make their own molecules. There were things like: mini marshmallows, grape tomatoes, grapes, dates, gumdrops and toothpicks to set it all up. I was really impressed at what some kids created!
Details of the cake, if you ever need to make BRAINS!! This would be a great cake for Halloween or a doctor.
The key with brains is to not cross the middle line and keep them moving in swirls.
Aren't these little guys so cute? End of the year meant we needed some summertime cupcakes according to Banana Girl. She insisted on sharks "for the boys" and "beach for the girls". I'm not sure that all were eaten according to her rules, but I know the kids enjoyed them.
The beach cupcakes are icing and then sprinkled with crushed ginger cookies (which I think taste better than graham crackers, but either would work). Add a little Teddy Graham bear and a drink umbrella that I picked up from the grocery store and...total cuteness!
The sharks were just as easy. Ice the cupcake with blue tinted frosting and make sure to leave peaks for yours waves. Cut out blue shark fins and insert them into the frosting right before serving. If you do it ahead of time the icing will create grease stains on the paper. You could go all out and create fondant fins, but I was a taking the easy way out on this one!
I quickly wanted to share these pictures of a Charlotte's Web cake I made for my oldest child's end of the year play. For the most part it was an easy cake: a sheet cake on the bottom, another sheet cake cut into a barn on the top (use chopsticks or dowels to secure the barn). Chocolate cookie crumb path, pretzel fences and plastic Little People barn animals.
I also made brownie spiders with a billion black melting candy legs that all fell off and broke in transit! Sometimes things just don't work out the way you hope.
This dessert seriously makes me swoon. It is my all time favorite dessert, ever since I was a teenager. I was that weird kid that was thrilled to see fruit in my lunch box (thanks Mom). I guess I have a special place in my heart for berries because they are so perishable and the season is pretty short. You gotta get 'em while the getting is good. Kinda like kisses from my kids - I'll take them whenever they are ripe for taking. Even the wet sloppy ones from the 2 year old!
The tart may look a little difficult because it's so showy (like the pavlova) but it's really not. Pull together the ingredients for the crust and press it into a pie pan or a tart pan (see below) and then make the creamy filling. After that, it's just a matter of piling on the berries!
Beautiful Berry Cream-Filled Tart
Ingredients
Pastry Shell
1 1/2 c flour
1/4 c sugar
1/8 tsp salt
8 tbsp cold butter, cut into small pieces
1 egg yolk, beaten with 2 tbsp heavy cream
Put flour, sugar and salt into a bowl of a food processor. Pulse to mix. Add the butter pieces and pulse. Add the egg/ cream and pulse until the dough is chunky and holds together when squeezed. (You can also do this in a bowl with a pastry cutter, it just takes more work.) Dump the dough onto was paper and chill in the fridge for 30 minutes.
Roll dough out into the shape of your tart pan. This dough makes enough for a 9" round pan. (A tart pan has a bottom that comes apart from the sides like a cheesecake pan to make serving a cutting the tart easier. You just lift the bottom of the pan out of the sides and serve the tart on the bottom. You can use a pie pan, just serve it right out of the pan like a pie.) Fit the dough into the pan and cover it with foil or parchment paper. Put some pie weights or dried beans on top of the foil to keep it from puffing up and bake at 425 degrees for 5 minutes. Reduce oven temperature to 350 degrees, remove the weights, prick the bottom of the pastry with a fork. Bake 15-20 minutes, until golden. Cool on a wire rack.
Cream Filling 2/3 c sour cream
1 (8 oz) package cream cheese, softened
2 tbsp lemon juice
1/2 c sugar
1 tsp vanilla
1/4 c heavy cream Beat sour cream, cream cheese, lemon juice, sugar, vanilla, and cream together in a large bowl. Spread mixture over cooled pastry shell. Arrange berries over the top and garnish with mint leaves if desired. Chill between 1-4 hours before serving. This doesn't keep well in the fridge for more than a day, since the crust gets soggy.
Easter is coming!! I can't wait since we celebrate with our families at our house. I'm ready to have everyone over and celebrate. Easter brings joy and it's just what we need. I'm ever so grateful for the eternal gift I've been given through Jesus' sacrifice.
Easter time is also when our Girls are ramping up their laying! We have eggs coming out of our ears right now. I was inspired to create this cute cupcake. They are a totally fun Easter treat I made for the preschool and elementary aged kids. Super easy. Just whip up some cupcakes and top with icing. Then sprinkle on some chow mein noodles and add a few speckled jelly beans or whoppers to the top. How simple is that???
We just celebrated the baby's 2nd birthday (I'm gonna have to stop calling her the Baby). She LOVES Sesame Street, especially Cookie Monster so a Street party was just what she needed. I pinned several ideas to my Pinterest Board and away I went!
We invited everyone over for dinner, since I ran a 5k that morning *so proud of this non-running gal* and the kids were all in a parade after the race. I printed off some Sesame Street blank signs to label all of the foods with cute names (thanks Mom- to the rescue again).
Oscar the Grouch's Trashy Green Beans....
Abby Cadabby's Sparkly Applesauce (we made the applesauce and added some colored pink and blue sprinkles on the top)
Elmo's Goldfish, Dorothy was represented
Bert's favorite friends, the pigeons had Honey Whole Wheat Seeded Bread
Big Bird's Corn Casserole
Grover's Hero Ham (the 8 year old's creative naming)
Elmo himself, made an appearance with friendly veggies and dip
For games, we kept it simple since this was a 2 year old party. I printed out a large Cookie Monster head and taped it to an empty cardboard box. We then cut out the mouth and the kids were able to "feed" Cookie some fabric cookies that my Grandmother whipped up.
We also emptied one of the large metal trashcans we keep chicken feed in and set it up in the family room. The big kids went to the recycling bin and pulled out pieces of paper which they wadded up, creating "trash" Then the party-goers all got to clean up Oscar's trash. (Please ignore the shaggy hair. Is there any other Mommy out there that has trouble finding the time to get a haircut???) Also, you can't tell, but I'm wearing my vintage Sesame Street tee, so old Elmo is no where to be found on it.
We topped the whole party off with Street cupcakes. I saw tons of ideas and loved so many of them. I decided to make Cookie Monster, Elmo and Big Bird. (Notice the Cookie tattoo? Abby Cadabby is on the other arm.)
The monsters were easy. I mixed up my buttercream icing and then colored each container. I had store bought black (a color I HATE to make) so I only had to make, red, blue, light blue (just a bit of lesser tinted blue), pink (a bit of the red not tinted all the way to red), yellow, and orange (some yellow icing and red combined). I made green too, thinking I might create Oscar cupcakes, but I decided not to. Looking back, I should have made Oscar and not Big Bird, because the Bird was HARD and I don't love they way he turned out. In any case, I saved the green icing for the next birthday party coming up in a couple of weeks.
It is full blown birthday and holiday season at our house already.
I also have black fondant that I rolled out and cut with a bottle cap. I then cut the circles in half so the monsters would have easy mouths.
Once the cupcakes were cooled, the icing tinted, the mouths cut out, I cut large marshmallows in half for the eye balls. Then I was ready to decorate. The piping was SOOOOO easy! Seriously, I know there are some of you out there, who think I'm kidding, so I had my MacGuyver husband video me piping out a cupcake. I used a star tip and this video is NOT speeded up. Look how fast it goes!!
Here is Elmo with piping, fondant mouth (be sure to pipe over the mouth a little), marshmallow eyes, piped eyeballs and getting his orange teardrop shaped nose.
Big Bird's beak was the hardest part of everything. I use a marshmallow cut like I saw here. You make two cuts into the side of the mallow and then you end up with a beak. Then I put a little red icing inside the beak and yellow on the outside. This was the messy and not beautiful part of the whole thing.
I had made Big Bird's feathers with a leaf tip and pulled them out starting from the edges and working in. I piped the white eyeballs and then a thin strip of pink and blue for his eyelids. All of that looked fine, until I added the messy beaks. Of course, once again I had to remind myself it's not a Cupcake Wars competition, but a kids' birthday party!! Ackk! Seriously.
Cookie Monster is just like Elmo, but a little messier with the fur and be sure to put his eyeballs in different spots to give him that googly eye look. I also crushed up some cookies and put the crumbs on his mouth which turned out super cute.
These are TOTALLY the cupcakes any beginner should start out with. If you wanted to make Oscar, instead of the Bird, it would be very easy.
I can hear it now, "Sunny Day, sweeping my cares away. On my way to where the air is sweet. Can you tell me how to get, how to get to Sesame Street?"