November 10, 2014

Arrghh! Walk the Plank! - Happy (late) Halloween


I almost forgot to post our annual Halloween photo. This year we went as pirates because I already had the costumes. When Abigail was granted her wish from Make A Wish, we knew there would be a Pirates In the Caribbean night on the cruise. I scoured our dress up box and some thrift stores to come up with costumes. I wanted us all to tie in together, so I also purchase some "piratey" fabric and made some matching items to finish the costumes. With all of this time and effort invested, I knew we needed a reason to wear them again...tadaa...Halloween costumes!
Photobucket

May 8, 2014

Soapy Olafs- Perfect Teacher Gifts!!


We made these incredibly cute Olaf soaps for teacher gifts this year. The idea was based on what we had previously done with the soap snowballs. This time, we took it up a notch and formed OLAF!!


We first, formed the head and body parts and stacked them together while they were still wet. Like an actual snowman, you need to have some "flatness" where the parts meet so they will stay together. The next day, while the soap was still soft, but not wet, we gently inserted the twigs we cut from our bushes. The hair twigs were short little things and the arm twigs had to have forks in the end to qualify. Then we took a break and left them out on the porch for a week or so.

We purchased Sculpey clay in black and orange and we formed LOTS of buttons, eyes, and noses. The eyes were just round balls, the buttons were flat sort-of hexagons and the noses were bent cone shapes. We baked the clay in the oven and then glued (with Elmers so it would come off when wet) them in the appropriate places. We could have made his tooth too, but I forgot to buy the white and then the kids ran out of steam!

When Olaf's body was dry and harden, we boxed him up in a clear plastic PVC 5"x5"x7" container with a fancy drink umbrella glued to his hand, and a summery napkin behind for the background. We used playdough for his towel underneath (and a little more glue) to keep him from sliding around on the slippery gold "sand" bottom of the box.


Once his was all boxed up, the kids added a sun shaped tag cut with my sister-in-laws Cricut that said, "Teachers have fun... IN SUMMER!!" Soooo excited to give it them away to our deserving teachers next week!

Here's what you need if YOU want to make soapy Olafs...


  Photobucket

March 16, 2014

Camouflage Party

We are still struggling with our younger son around here. Last year, in the midst of everything with Abigail, he was diagnosed with ADHD. He has manic moments and has a really hard time in group settings. After a few weeks in kindergarten, the school suggested I move him to a Special Ed class. Whew - that was a hard one and while I was in the middle of chemo appointments! Still, once I got over myself (cause really it was only hard for me to swallow) I saw how the class was a much better place for Andrew. I adore his teachers and the sweet (only six) kids he is in class with. When his birthday rolled around, he wanted to invite "the boys only" to his birthday party. I came up with the idea of having a Camo Party and decided this one would be pretty low key. I mean, after all, this is the kid that doesn't do well with crowds or chaos! :)
Everything was outside, including the food. We set out real army facepaint and said anyone could use it (I think only Andrew and his Daddy did). I had some MRE's for decoration - pretty gross to actually eat. We had some army flak jackets for the kids to try on - they are soooo heavy.

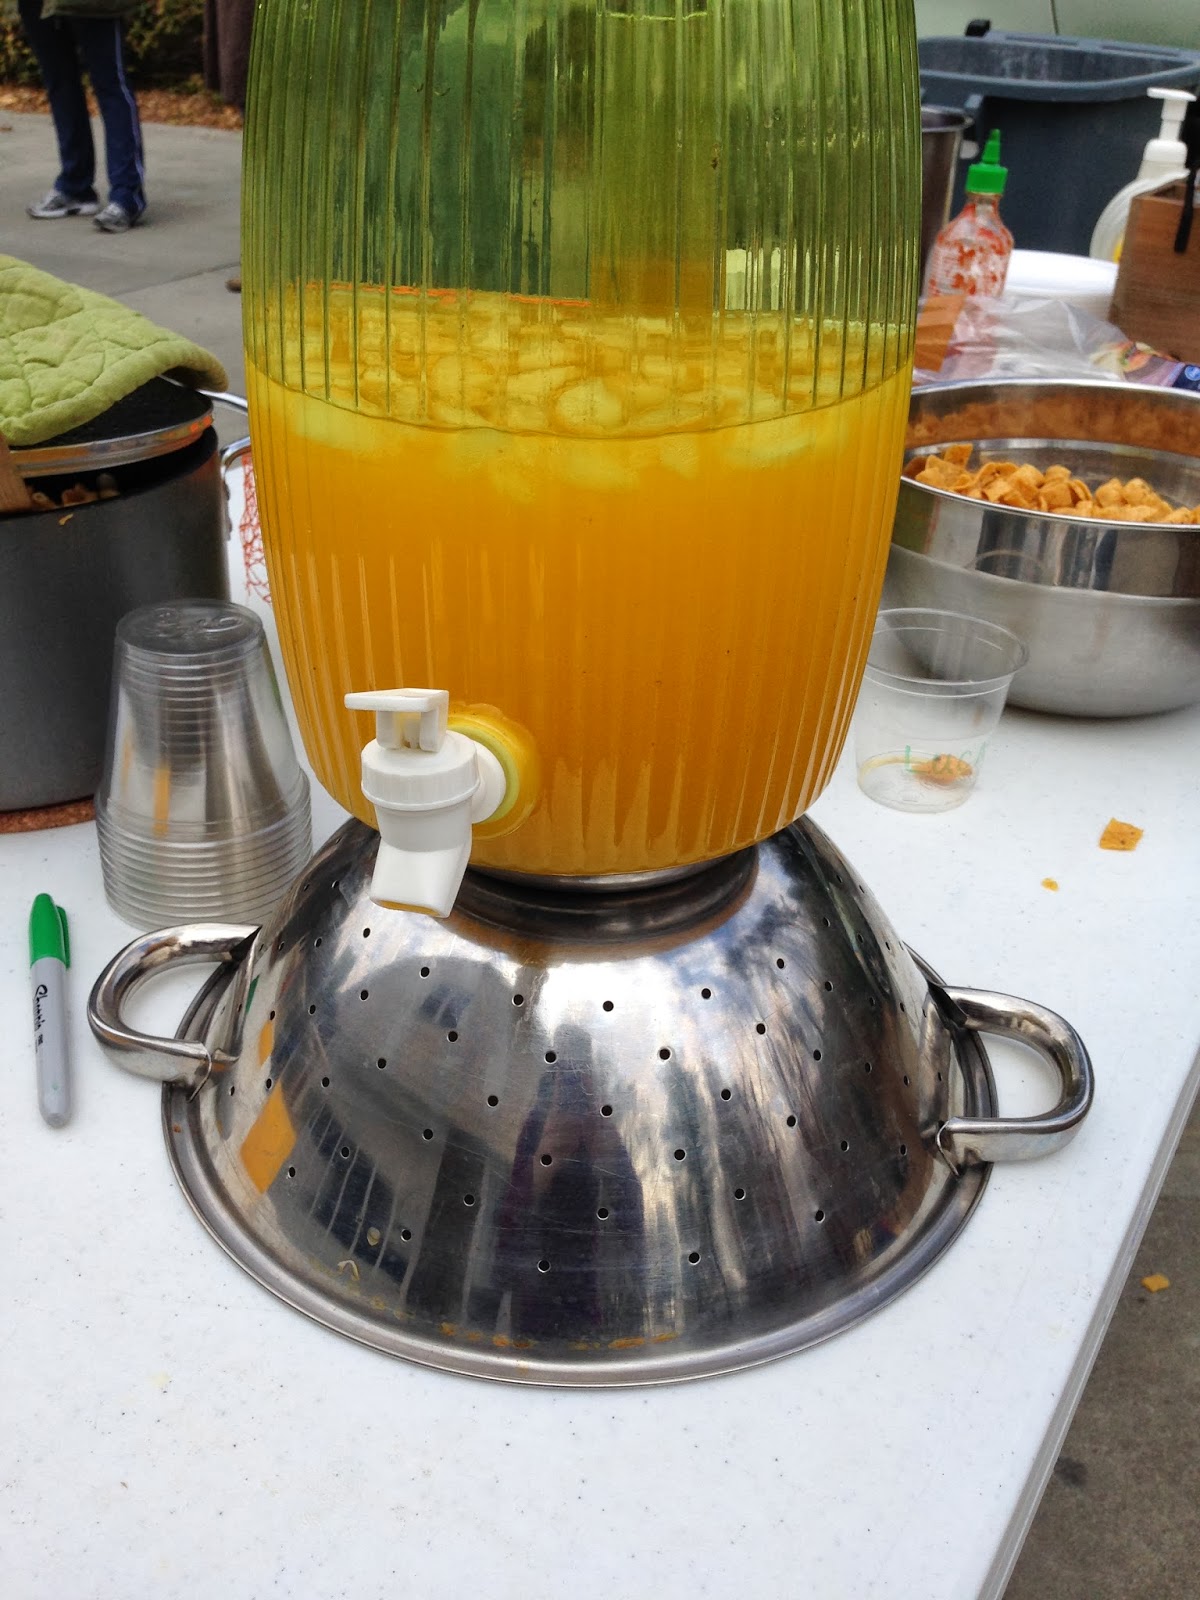
After they dressed out, we had lunch. It was tang, sloppy joes, mac and cheese, Frito's, asparagus spears and clementines.


 After lunch my husband set up an obstacle course for the kids and just let them run wild. I think they all had a great time and were definitely exhausted when they left.

 For the camo cake, I tried a new technique. I made the colors of icing and crumb coated the cake. then I squeezed blobs of icing in random shapes with a large hole tip. I let that set up and then used a high density foam roller to "meld" the colors together. I was not happy with this technique. It often picked up the icing or smooshed it too hard even when I being gentle. I finally gave up and went back to the trusty paper towel method. It's not a smooth finish when you look up close, but it's good enough for me.


Photobucket

LinkWithin

Related Posts Plugin for WordPress, Blogger...